 Tusovka

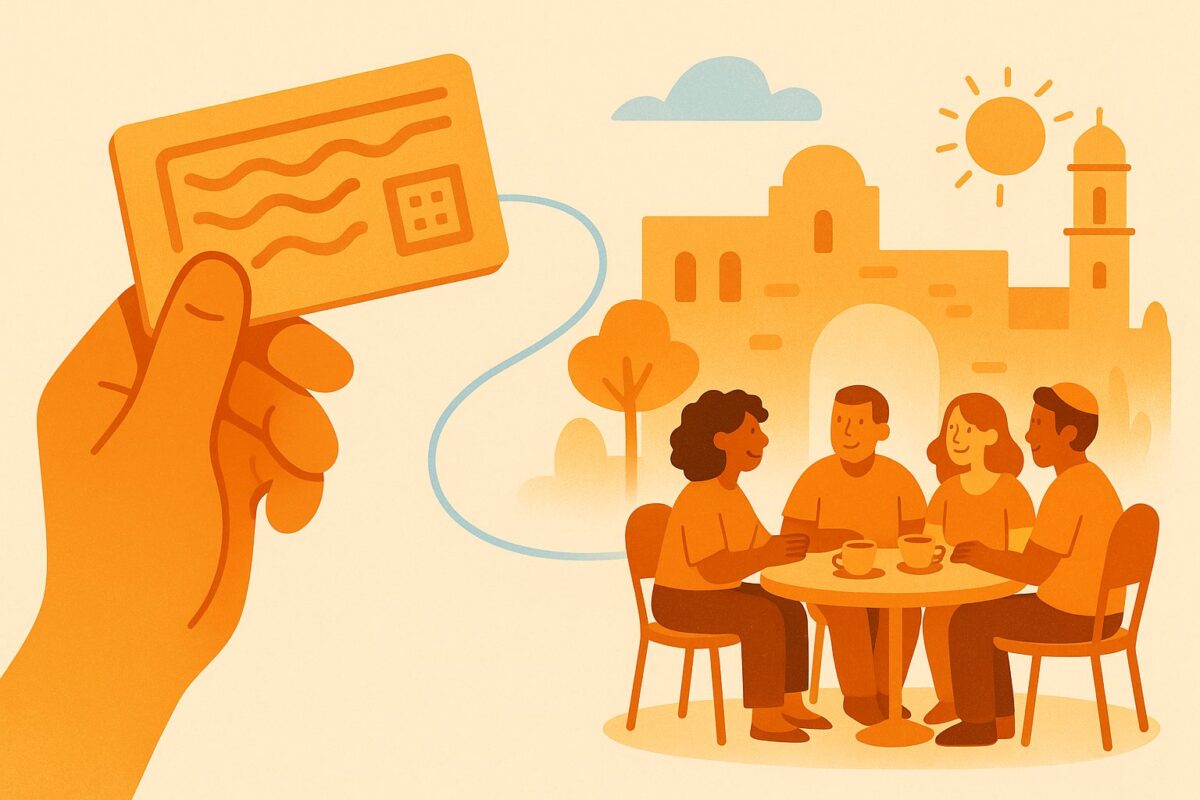
The Tusovka header has two buttons side by side: “Sign up” and “Activate card”. Anyone can open an account, but the private hangouts of Russian-speaking Israel only let you in with a member card that carries a code. Below is the whole newcomer path in order, from holding the card to sitting down at the shared table at your first in-person meetup.
Why do you need a card if sign-up is open?
Tusovka is built as a set of private, invite-only hangouts. A hangout leader issues each card and hands it to a specific person. So a hangout’s member list only includes people the leader invited and gave a card to. A random visitor from search won’t end up there, and the circle stays warm and predictable.
The site is still useful without a card. The meetup feed and hangout pages are visible even if you’re not logged in, and a regular account opens up the People section, private messages and light plans: anyone who is 18 or older and has confirmed their email can create light plans and sign up for other people’s. Joining a hangout and signing up for its meetups works only with that hangout’s card. Sign-up is open right now. If it ever closes, sign-up with a card will still work: the code acts as an invitation.
Step 1. Get a member card
A member card is a physical card with a code in the XXXX-XXXX format. Only a hangout leader issues it, and it can reach you in one of two ways:
- in person, at a hangout meetup you were invited to;
- by mail, if you sent a request on the hangout’s page.
To send a request, create an account, open the page of the hangout you want and click “No card? Ask a hangout leader”. Once the leader approves it, you choose how to get the card in your account, under “Member card”: by mail or at a meetup. The same section shows where your card is right now, from printing to handover.
Activation ties the card to your account, so don’t pass it on to anyone before you’ve activated it yourself. If the card gets lost before activation, write to the hangout leader who issued it: going through them is the easiest way to restore access.
Step 2. Activate the code
This part is quick. Open the card activation page and enter the code: eight characters, the hyphen in the middle is already there, and case doesn’t matter. You don’t even have to type it: the “Scan card QR” button reads the code with your phone camera. If you’re not logged in yet, the site will ask you to log in or create an account, and then make you a member of the hangout the card belongs to.
After activation, a digital card with a QR code appears in your account. It’s how you’re recognized at the door and checked in at meetups. One QR covers all of that hangout’s meetups, so you don’t need a separate code for each one. If you belong to several hangouts, each one has its own card.
What opens up right after activation
- the full member list of your hangout;
- signing up for the hangout’s meetups with the “Going” button;
- a digital card with a QR code in your account.
Step 3. Look around your hangout
Don’t rush to click every button. Open your hangout’s page in the hangouts section and see how it works: who the leader is, how many members it has, what it’s about and what its rules are. Hangouts on Tusovka vary a lot: some meet for business breakfasts, some for evening board games, some for walks with shop talk. If there’s no hangout for your interest yet, create a light plan in the meetup feed: by default it’s a meetup for up to three people, you included.
Look through other members’ profiles too. That way, at your first meetup you’ll be joining people whose names and faces you’ve already seen.
Step 4. Sign up for a meetup
Now for the reason all of this exists: live offline meetups. Open the meetup feed, pick a meetup by date and city and click “Going”. On paid meetups the same button says “Sign up”. That’s it, you’re on the list.
If your plans change, cancel in advance, right on the meetup page. That way the spot doesn’t sit taken for nothing and goes to someone who is waiting for it. In a closed circle, that’s simple courtesy.
No spots left? Join the waitlist
Many meetups have a limited number of spots. Once they’re gone, the “Going” button is replaced with “Join the waitlist”. When someone cancels, the line moves and the freed spot goes to the next person. You don’t have to keep checking: the spot passes to you automatically, and you get an email.
Step 5. Show up to the meetup
On the day, bring your phone with the digital card open. At a hangout meetup, the leader checks you in by your QR code or ticks you off the list, or you can check yourself in with the “I’m here” button on the meetup page. At light plans, that button is the only way to check in. Then comes what it’s all for: real conversation, new people, a shared table.
Every meetup you’re checked in at counts toward your profile, so the history of your outings is always there: handy when you want to remember where you went and who you met.
What if something goes wrong?
The code isn’t accepted, the card is lost, the waitlist email never came: all of this can be fixed. First check the help center, which covers the typical activation and sign-up situations. If you don’t find the answer there, write to your hangout leader. They issued your card and can see your status.
Quick newcomer checklist
- Got a member card from a hangout leader, at a meetup or by mail.
- Activated the code on the activation page.
- Looked around your hangout and its members’ profiles.
- Clicked “Going” on an upcoming meetup.
- Showed up and checked in: by QR with the leader or with the “I’m here” button.
Five steps, and you’re a hangout member. After that, it’s up to you how often you make it to the table.